Crop It Teaching Strategy | Facing History & Ourselves
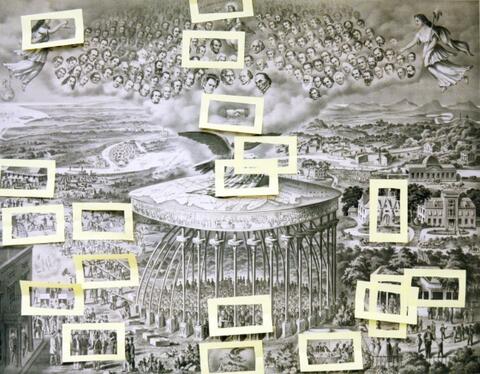
An illustration with portions framed with post-its.
Teaching Strategy

Crop It

Help students interpret an image by “framing” smaller portions of the image and analyzing them.

Published:

At a Glance

Teaching Strategy

Language

English — US

Subject

  • English & Language Arts
  • History
  • Social Studies

Grade

6–12

Overview

What Is the Crop It Strategy?

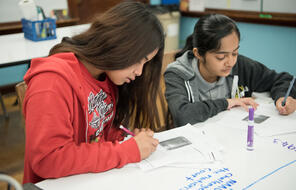
In a Crop It activity, students use cropping tools to frame a portion of an image and then discuss their choice with classmates. This strategy requires students to notice, identify, and respond to specific portions of an image before interpreting the image’s overall meaning and impact. It’s an effective way to help students look closely at and analyze images.

Save this resource for easy access later.

Save resources to create collections for your class or to review later. It's fast, easy, and free!
Have a Workspace already? Log In

Lesson Plans

How to Use the Crop It Strategy

To prepare for this activity, you will need to identify an image that you would like students to analyze and then make a copy of the image for each student. You will also need to create cropping tools for students to use, or have students create them. Each tool consists of two L-shaped strips of paper (cut from the border of a blank sheet of 8 ½ x 11-inch paper). During the activity, students will use the two L-shaped strips to create a rectangle shape, pushing the corners together or pulling them apart to change its size. Each student should have two cropping tools to work with.

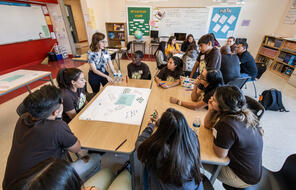
To conduct the activity, ask students to look at each image closely. Call out a series of prompts, beginning with some of the suggestions below, and give students time in between to use their cropping tools to frame a portion of the image independently and then discuss their choice with a classmate or small group. Follow these suggestions with prompts of your own specific to the topic of the lesson or unit:

  • Identify the part of the image that first caught your eye.
  • Identify a part of the image that shows what this image is about.
  • Identify a part of the image that shows a tension, problem, or dilemma.

As you reach the end of the prompts for each image, you might also ask students to write and explain a new title or caption for the image.

Finish the activity by having students reflect in their journals about the process. You can use this prompt or a similar one: How did looking closely at small portions of the image help to deepen your understanding of its meaning and impact?

Example

In this Crop It activity, students framed portions of an illustration while studying the Reconstruction Era.

Credit:
Facing History and Ourselves

You might also be interested in…

Unlimited Access to Learning. More Added Every Month.

Facing History & Ourselves is designed for educators who want to help students explore identity, think critically, grow emotionally, act ethically, and participate in civic life. It’s hard work, so we’ve developed some go-to professional learning opportunities to help you along the way.

Using the strategies from Facing History is almost like an awakening.
— Claudia Bautista, Santa Monica, Calif